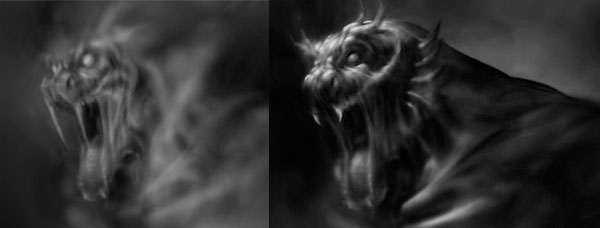
 I did couple of soft airbrushing paintings on the Cintiq 22HD. Part of the reason was to test the sensitivity on the Cintiq. It feels the same as the Wacom Intous tablets but the results I get on the Cintiq is softer because of greater hand control.
For these paintings, I used the aribrush in Photoshop with an airbrush opacity at about 25% with a flow of about 30%. With that low opacity flow, you can slowly build up the form with multiple strokes. Just think of it as if you’re using a real airbrush, where going too dark is a big no no since you can’t go lighter.
Pretty Girl’s Face and the Mummy
On the girl’s face, it took me about an hour to do. Starting with pure black on the airbrush, I slowly painted in the darks. Then using pure white to bring out the highlights. My goal was to create all the different shades of grey by varying the pressure of the stylus. I was successful at that, but I did end up doing some corrections by apply the backgroud grey to fix certain areas that I went too dark on.
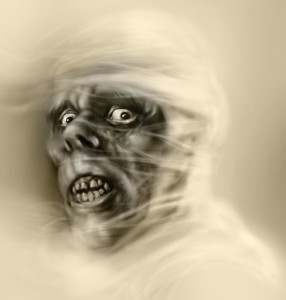 For the Mummy’s face, it was a lot messier and I went back and forth more. The details made it difficult to get it correct on the first try. This was referenced from one of Basil Gogos’ monster sketches.
In conclusion, I think this soft airbrushing technique works great with the Cintiq. The stylus is sensitive enough where you can build up smooth areas with multiple strokes and still keep your stroke lines blended. I like the result and I’ll be doing more of these types of paintings. The process goes fast enough that I’ll be able to do a video on this technique soon.
Related Posts
Cintiq 22HD Review
Cintiq 22HD Video Review
Cintiq 22HD Stylus Sensitivity Video Review
 I start out with middle grey, and working with a large brush, I put in the dark areas first. Once I have some darks in, I bring out the highlights with pure white. My brush opacity is set low at around 25%. This helps to ensure that I build up the forms slowly. I don’t go too dark or too light at the beginning.