My Enterprise NCC-1701 Predator Concept Painting

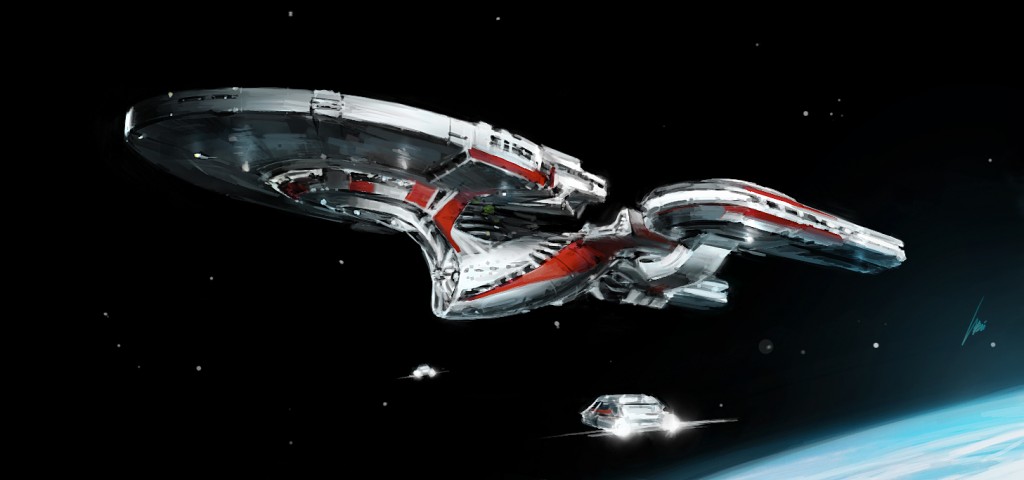
Here is the final painting for my Star Trek Enterprise ship design. I’m calling this the NCC-1701 Predator since the design looks a little more like an attack ship. This was painted in Photoshop with the 3D render at the bottom layer serving as reference. The current state of the painting is a little rough. I can spend a couple of more hours to tighten everything up but that’s probably not necessary as the design I wanted is pretty much there. And it can be a grueling process to to clean up and paint details on hard surfaces, especially when you have to keep all the perspectives in check. Anyhow, it was a hell of a lot of fun to get to this point. You can click on the image for the full resolution. Painted with the Cintiq 22HD.
Star Trek Enterprise NCC-1791  Predator Concept

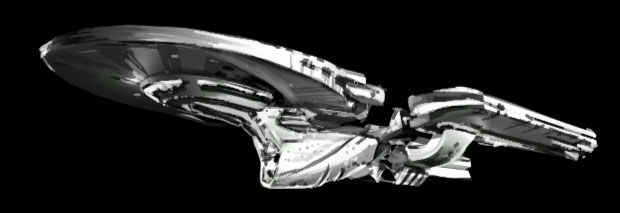
The Initial Painting Stage and the 3D Render as Base Image

This is an early stage of the painting process. To get rid of the harsh lines and angles in the 3D model render, I use the smudge tool. Most of the process is painting right over the image using a square brush in Photoshop. I do like the square brush over the default soft round brush in Photoshop for these hard edged paintings. The square brush gives it a nice hard edged effect.
Enterprise NCC-1701 Precator Concept painting step 1
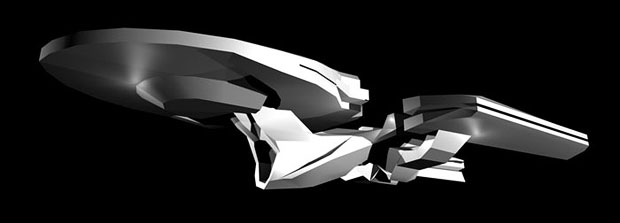
Here is the 3D render of the Enterprise concept model that I built in Maya.
Enterprise NCC-1701 3D Model Concept

Using 3D Modeling for Concept Art

I’ve recently wrote about using 3D models for concept art in my 3D Modeling Blog. It seems to be a growing trend for concept artist. As stock photos and digital photography is the norm for getting references, concept artist no longer have to paint everything from scratch. Having reference or “base image” is the new workflow. Add to that the abundance of 3D packages and their friendly user interface with an easy learning curve, you now have another set of powerful tools for creating original art. Here’s the post that I’ve wrote on my 3D modeling blog, 3DModelingHero.com. Thought you might find it helpful.

Speed Up Your Concept Art with 3D Modeling


It seems that a lot of concept artist are adding 3D modeling into their arsenal. They are not interested in being a modeler, but they’ve realized how useful it is to be able to render out a quick scene that will lay the foundation for their concept work. Whether you’re creating spaceships, architecture, or environments, 3D modeling can assist in the process. Say you are looking to do a realistic architectural environment. You can lay in your perspective lines and start sketching out a scene. But better yet, you can build boxes in 3D to represent buildings and render out a quick scene for your perspective foundation. Maybe mess around with camera angles and focal length to get some extreme perspective. You can even quickly add some lighting in your 3D scene for shadow references. It is so incredibly easy to do in 3D. Trying drawing on paper a dome shape with a wide angle perspective. What a pain in the butt that is! In 3D, it is just a click away.

I don’t do much concept exclusively. For my previous projects with Disney Imagineering, I’ve created concepts as needed. Since most of the final images are rendered in 3D, jumping in and doing concepts in 3D saves me time as I’m combining two stages of production into one. Below is an example of doing concepts with 3D models.

Star Trek Enterprise 3D Concept Mock-Up

Here is something that I’ve done just for fun. Being that the Star Trek Into Darkness is coming out soon, I’ve had this image in my head for an Enterprise ship design.

I started with a quick sketch on paper, then it was off to Maya for modeling. Once in Maya is where the real fun begins. Sketching in 3D is so liberating. You can play with proportions almost as quickly as you can think of it. The best part is being able to spin the camera around and see it from different angles, and that visualization, in my opinion, leads to better concept designs. Here’s what I created in 3D in about 45 minutes. Half of that time spent was thinking of the design as I model. It’s a fun process, you should try it if you haven’t. Click on images below for a larger view.

star trek enterprise ncc-1701 concept sketchDoing concepts in 3D - Enterprise design

Final Render and Ready for Painting

Here is another shot of the Enterprise concept ship with some more lighting. I’ve also tweaked the model a bit for better proportions. This 3D render I will use as a base layer for my painting. The 3D shapes are crude but it is more than enough to provide some crucial guidelines. The design might ultimately change during the painting stage, but regardless, having this base images makes the painting process much easier.

Final 3D render for concept painting for the Enterprise

Touch Capability on the New Wacom Cintiq 22HD

Wacom is adding the ‘touch’ capability to their Cintiq 22HD line. I’ve tried the touch setting for the Cintiq 24HD back during Comicon, and it’s cool. I didn’t feel like it was necessary though, or even useful. Their selling point seems to be that you are able to easily apply the zoom-in and zoom-out functions with your left hand (assuming you’re right handed) while leaving your right hand with the stylus free for painting or drawing. But here’s the problem with the zoom functions. If you’re in Photoshop, zooming at any percentage other than 50, 100, 200, 300, etc, creates aliasing issues on the image. In other words, it looks like crap, and I find it difficult to work on an image with jagged edges. The Cintiq already has that touch strip on the back that allows you to zoom in and out. And I never use that function because of that aliasing issue. Actually, I want to deactivate that strip because sometimes I touch it by accident and then I have to reset the zoom. So that zoom function doesn’t seem like a plus for me.
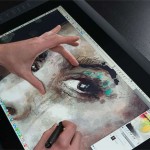
New Wacom Cintiq 22HD TouchThe other function of being able to pan with the left hand is kind of useful. But the express keys on the left has provided for that function to be easily accessible already. So again, not a big productivity jump. Now if I had money burning a hole in my pocket, then I wouldn’t mind paying for that $500 function. But that’s not the case. I’ll save that $500 for other toys. Below is Wacom’s description of the Cintiq 22HD Touch.

Wacom Cintiq 22HD Touch

Wacom’s advanced, pressure-sensitive pen combined with the Cintiq 22HD’s intuitive, multi-touch capabilities deliver a truly natural and seamless on-screen creative experience.

It‘s not just the easy access to personalized settings; it’s not just the 21.5” full HD display with 1920 x 1080 pixel resolution and 16.7 million colors either. It is not even just the rotating stand, which adjusts easily to your favorite working position and viewing angle. And it is certainly not just the ability to position and navigate your work intuitively with the multi-touch capabilities that make working with the Cintiq 22HD such an experience.

No, it is the combination of all of these features that lets you dive into your digital image and understand the Cintiq 22HD fascination.

A hands-on creative experience
Enjoy the precise, intuitive control of on-screen creation with Wacom’s pressure-sensitive pen while using multi-touch gestures to position and navigate your work.

Create in comfort
The ergonomic stand offers both landscape and portrait viewing angles and easily adjusts to your preferred working position so you can work in complete comfort.

Maximize your productivity
Work with speed and ease thanks to customizable ExpressKeys, Touch Strips, and multi-touch gestures that put your favorite shortcuts at your fingertips.

But there’s still more! The Cintiq 22HD package is compatible with both Mac and PC, works seamlessly with your computer’s configurations, and is easy to accessorize with an array of compatible pens, grips and pen tips.
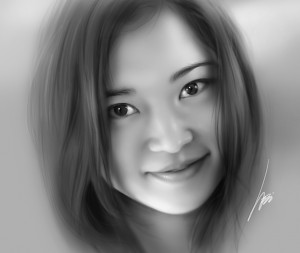
Portrait Painting – Geisha

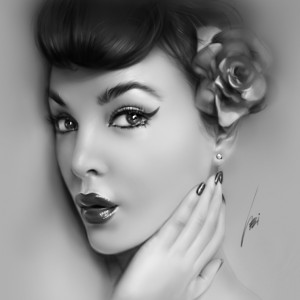
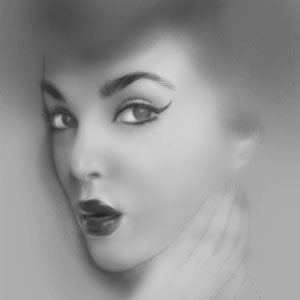
Geisha painting - soft airbrushingHere’s my latest soft-airbrushing painting. Referenced from a subscriber (Kay Dawkins) to my Facebook page. I love the look on the photo. The make-up and hair style had a Geisha feel to it, so that’s what I called it.

You can click on the image for the actual resolution that it was painted at. This was painted in Photoshop with the Wacom Cintiq 22HD.

Painting Step by Step

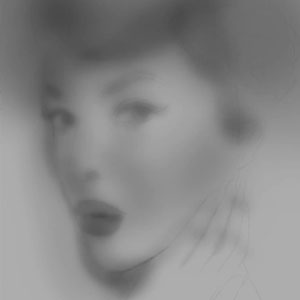
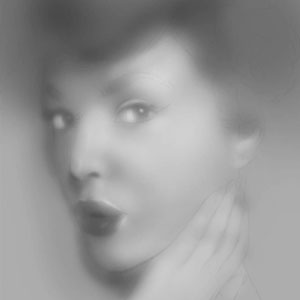
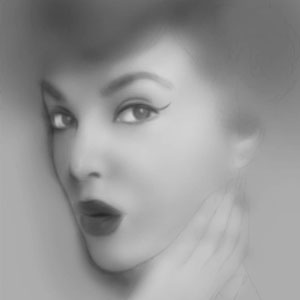
Here is a series of snapshots from my painting video. It’ll show you the basic steps of the soft airbrushing technique for this Geisha painting. I love this simple painting technique because it’s quick to paint, and the portrait seems to get lifted from the paper as it progress.

Steps 1 and 2

Start with a grey background in Photoshop (or any other painting software) and set your brush and flow opacity to 25%. The first step is to lay down the darks. Don’t go too dark, just enough for you to see the form. Then go in with the whites and pull some of the major shape and highlights out. Again, not too light.

Geisha painting tutorial step 1Geisha painting tutorial step 2

Steps 3 and 4

Now we’ll switch back to black and add in more details. Usually, I start in the eye as those are generally the darkest areas. Repeat with white. These steps are similar to the previous steps, we’re just pushing the lights and darks to another notch and using smaller brushes to add details.

Geisha painting tutorial step 3Geisha painting tutorial step 4

Steps 5 and 6

At these later stages, you’ll start to see the forms come alive. It is also here that I’ll start to see where I’ve make mistakes on the values. Most of the correcting happens here. Keep repeating the process until you have what you like. When you want to stop and call it done is your choice. That’s really more of an expression of your own. I tend to like to leave some surrounding areas undone in order to add more focus to the crucial areas in the face.

Geisha painting tutorial step 5Geisha painting tutorial step 6

Just remember, the whole painting process from beginning to the end is similar to seeing an out of focus image through the camera lens and you slowly turning the dial to put the image into sharp focus. Hope this helps.

Speed Painting Video

To see the video, please check into my youTube channel page for this Geisha Portrait Painting.

Plugin by Social Author Bio